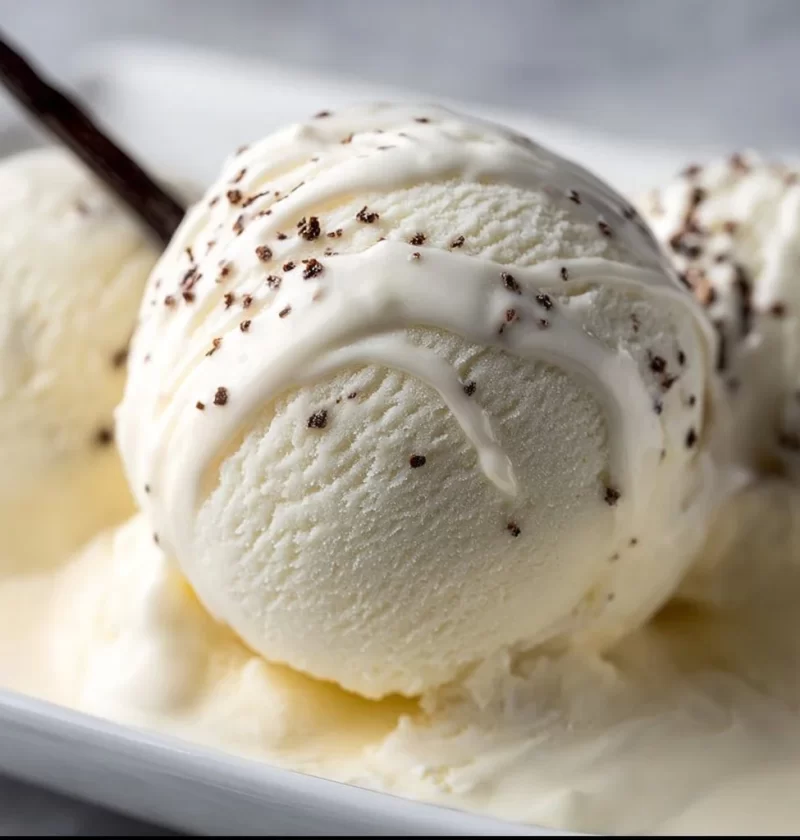
The Creamy Delight of Homemade Vanilla Bean Ice Cream
Hey there, fellow food lovers! Today, we’re diving deep into the world of velvety, dreamy vanilla bean ice cream—the kind that makes any day a little brighter and every occasion a bit sweeter. Imagine this: inside your kitchen, there’s a talented ice cream maker waiting patiently as the heavy cream, sugar, and those splendiferous specks of vanilla come together to create a magical treat. Sounds like bliss, right?
Ice cream has a way of lifting spirits and creating memories. It’s that wonderfully versatile dessert that can mean anything from a summer treat on a hot day to a comforting scoop on a chilly evening. But what if I told you that making your very own vanilla bean ice cream at home is not only possible but also incredibly straightforward?
The first time I made homemade ice cream, I was a kid, barely tall enough to reach the counter. I remember standing on my tippy toes, clutching my favorite mixing bowl that had seen better days. My dad and I would take turns pouring in cream, sugar, and a splash of vanilla while laughing over how our ice cream was going to be “the best ever.” After we finished mixing, we’d pour the concoction into an old ice cream maker, listening to that delightful churning sound that felt like pure magic. The anticipation as we waited for the machine to work its magic was half the fun! Fast forward to today, and not much has changed. The magic of homemade vanilla bean ice cream remains one of my favorite kitchen adventures.
Ready to make your own? Let’s gather our ingredients and get started on crafting this delightful ice cream that everyone will rave about!
Ingredients
-
2 cups heavy cream: This is the backbone of our ice cream. The higher fat content means a smoother, creamier texture. If you’re looking for a lighter option, you can use half-and-half; however, it won’t be quite as rich.
-
1 cup whole milk: Adds extra creaminess and balances the rich flavor of the heavy cream. If you’re out of whole milk, feel free to substitute with 2% milk, but again, the texture will be slightly less creamy.
-
3/4 cup granulated sugar: Sweetness is key! This sugar not only sweetens the ice cream but also helps create that lovely texture. If you’re looking for a sugar alternative, you can experiment with honey or maple syrup—just keep in mind that it may slightly alter the flavor.
-
1 tablespoon pure vanilla extract: This is where the magic truly begins! The pure vanilla extract enhances the flavor and aroma of our ice cream. Avoid imitation extracts if you can; they just don’t have the same depth. You can also infuse your ice cream with your favorite flavor by swapping vanilla for almond extract—a fragrant twist!
-
1 vanilla bean (split and scraped): Using a whole vanilla bean takes this ice cream from good to heavenly. It’s like hugging your favorite sweater on a cold day—totally warm! If you can’t find vanilla beans, an additional tablespoon of pure vanilla extract will work in a pinch, but nothing compares to those tiny flecks of vanilla goodness.
-
4 large egg yolks: These golden gems help create a custard base that yields a smooth, creamy finish. If you’re looking for a vegan option, you could try substituting with a little cornstarch, but keep in mind that it will slightly alter the texture.
Step-by-Step Instructions
-
Prepare the Base: In a medium saucepan, combine the heavy cream, milk, and sugar. Heat this over medium heat, stirring occasionally, until the mixture is warm and the sugar has completely dissolved. This is where the aroma starts to fill your kitchen; take a moment to inhale that creamy goodness!
-
Add the Vanilla: Once heated, remove the pan from the heat. Scrape the seeds from the vanilla bean and add them along with the empty pod into the mixture. Also, stir in the pure vanilla extract. Let it steep for about 30 minutes. This is where you allow the beautiful vanilla flavor to truly infuse—trust me; it’s worth the wait!
-
Whisk Those Yolks: In a separate bowl, whisk the egg yolks until they become pale and slightly thickened. This usually takes about 2 minutes.
-
Temper the Eggs: To avoid scrambling the yolks, you’ll want to temper them. Gradually add a tablespoon of the warm cream mixture to the egg yolks, whisking constantly. Repeat this process, adding a few more tablespoons until you’ve brought the egg mixture up to temperature. Now you can safely combine them!
-
Mix and Thicken: Pour the tempered egg mixture back into the saucepan with the remaining cream mixture. Cook over low heat, stirring constantly, until the mixture thickens enough to coat the back of a spoon—this might take about 5–7 minutes. You’re looking for a custard-like texture!
-
Strain and Chill: Pour the mixture through a fine-mesh strainer into a clean bowl. This step will remove the vanilla pod and any cooked eggs, ensuring that your ice cream base is as smooth as silk. Cover the bowl with plastic wrap, pressing it against the surface of the custard to prevent a skin from forming, and let it chill in the refrigerator for at least 4 hours, or overnight if you can wait that long!
-
Churn, Baby, Churn: Once your base is completely chilled, it’s time to churn! Pour the mixture into your ice cream maker and churn according to the manufacturer’s instructions. Typically, you’ll churn it for about 20–25 minutes, until you get a soft-serve consistency.
-
Freeze to Firm Up: For a firmer texture, transfer the churned ice cream to an airtight container and freeze it for at least 4 hours. This waiting part can be the hardest, but I promise the end result is well worth it.
Serving Suggestions
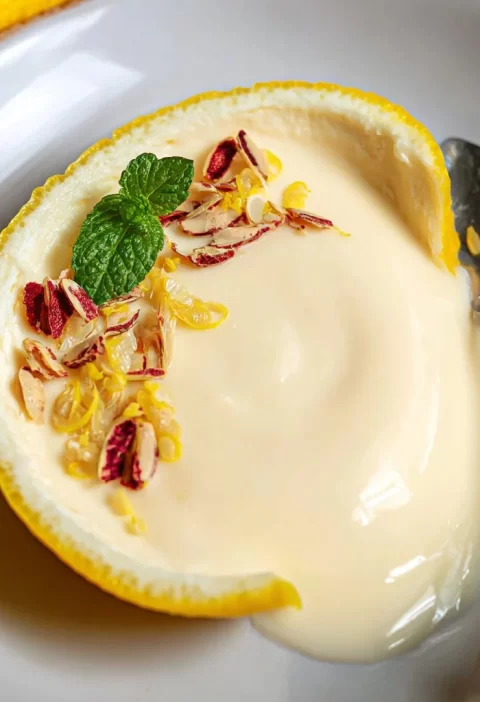
When it’s finally time to serve, scoop your heavenly vanilla bean ice cream into bowls or cones, and feel free to drizzle with chocolate sauce, sprinkle with nuts, or pair it with fresh fruit or a warm dessert like brownies. The possibilities are endless! For an elegant touch, consider adding a sprig of mint or a few edible flowers for that Instagram-worthy finish.
Recipe Variations
- Cookie Dough Delight: Fold in chunks of cookie dough right after churning. Your taste buds will thank you!
- Berry Swirl: Create a luscious swirl by drizzling in your favorite berry compote before transferring to the freezer.
- Chocolate Swirl: Infuse the base with melted dark chocolate to create a rich chocolate vanilla bean combo that’s decadently delicious.
- Nutty Extras: Add crushed almonds or hazelnuts after churning for a bit of crunch.
- Savory Surprise: Infuse a bit of sea salt into the mix before chilling for a trendy salted vanilla bean ice cream!
Chef’s Notes
I have to admit that every time I make this vanilla bean ice cream, it brings back memories of those carefree afternoons spent in the kitchen with my dad. The joy of creating something from scratch, and then the excitement of savoring every chilled bite, never gets old. Over the years, I’ve perfected my base and experimented with different flavors, but the classic vanilla bean has remained a staple in my home. It’s a reminder of how the simplest recipes can hold the biggest and most heartfelt flavors.
FAQs and Troubleshooting
-
Why isn’t my ice cream setting?
Make sure your base is thoroughly chilled before churning. If it’s lukewarm, it won’t freeze properly! -
Can I use low-fat milk instead?
While you can use low-fat milk, your ice cream may come out more icy than creamy. If you want to try, consider using a mix of milk and cream instead. -
What if I don’t have an ice cream maker?
No problem! Pour the mixture into a shallow dish and freeze it. Stir vigorously every 30 minutes for about 3 hours to break up ice crystals until it reaches a creamy consistency. -
How long will it last in the freezer?
Homemade ice cream is best enjoyed within 2 weeks; afterward, it can develop ice crystals and lose its creaminess.
Nutritional Info
This homemade vanilla bean ice cream provides a delicious end to any meal. However, it’s rich in calories and sugar, making it a treat to enjoy in moderation. For those following specific dietary plans, always consider your ingredient substitutions carefully.
And there you have it—a simple guide to creating your very own creamy vanilla bean ice cream that’s sure to delight your family and friends. So go ahead, pull out that ice cream maker, and let’s make some memories one scoop at a time! Happy cooking!
PrintHomemade Vanilla Bean Ice Cream
Creamy and dreamy homemade vanilla bean ice cream, perfect for any occasion.
- Prep Time: 30 minutes
- Cook Time: 15 minutes
- Total Time: 240 minutes
- Yield: 4 servings 1x
- Category: Dessert
- Method: Churning
- Cuisine: American
- Diet: Vegetarian
Ingredients
- 2 cups heavy cream
- 1 cup whole milk
- 3/4 cup granulated sugar
- 1 tablespoon pure vanilla extract
- 1 vanilla bean (split and scraped)
- 4 large egg yolks
Instructions
- Prepare the Base: In a medium saucepan, combine the heavy cream, milk, and sugar. Heat over medium heat, stirring until the mixture is warm and sugar is dissolved.
- Add the Vanilla: Remove the pan from heat. Scrape the seeds from the vanilla bean and add them along with the pod. Stir in the vanilla extract and steep for 30 minutes.
- Whisk Those Yolks: In a separate bowl, whisk the egg yolks until pale and slightly thickened.
- Temper the Eggs: Gradually add a tablespoon of the warm cream mixture to the yolks, whisking constantly. Repeat with more tablespoons until the eggs are up to temperature.
- Mix and Thicken: Pour the egg mixture back into the saucepan and cook over low heat, stirring until thick enough to coat the back of a spoon (about 5-7 minutes).
- Strain and Chill: Pour through a fine-mesh strainer into a bowl, cover with plastic wrap pressed against the surface, and chill for at least 4 hours or overnight.
- Churn: Pour the chilled mixture into an ice cream maker and churn according to instructions (about 20-25 minutes).
- Freeze to Firm Up: Transfer the churned ice cream to an airtight container and freeze for at least 4 hours.
Notes
Serve with chocolate sauce, nuts, fresh fruit, or warm desserts for an elegant touch.
Nutrition
- Serving Size: 1 serving
- Calories: 400
- Sugar: 30g
- Sodium: 75mg
- Fat: 25g
- Saturated Fat: 15g
- Unsaturated Fat: 8g
- Trans Fat: 0g
- Carbohydrates: 40g
- Fiber: 0g
- Protein: 6g
- Cholesterol: 240mg
Keywords: ice cream, dessert, vanilla bean, homemade, creamy, sweet treat